Now that it’s winter break, I am going to sit down and do something I’ve been wanting to do for quite awhile: create my own VR game using Unity 3D and Google Cardboard. Thus, I am challenging myself to make a playable game (a short one) in eight days.
The game is going to be a take on a “point and click” game, a-la the old 90s Lucas Arts adventures (like Beneath a Steel Sky). Except set in VR. Movement will be accomplished by “teleporting” (with a blink effect) to reduce VR nausea. The goal of the game is for you, a detective in a futuristic city, to gain access to a missing person’s apartment and find clues on their disappearance. This game is primarily a learning project, but I really want to produce something that people can actually play at the end.
I spent most of the first day brushing up on Unity tutorials and updating my Android environment and Unity setup. At the end of the day, here’s what I accomplished:
1. Movement
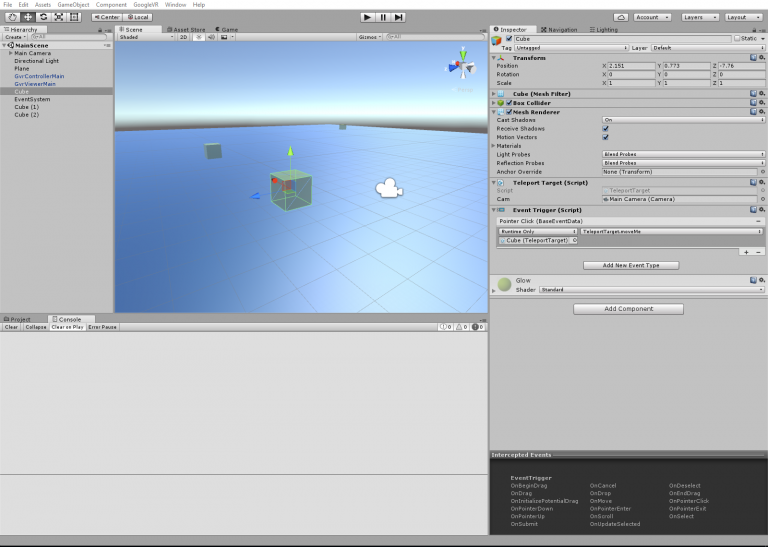
Movement was the first hurdle. Some time ago, I had a simple game that used the Google Unity SDK’s IGVRGazeResponder interface to give certain GameObjects actions when the user looked at them and clicked the Cardboard’s button. Since then, Google seems to have made that interface defunct. The new way to do things is to hook into the event system. Here’s how I set up my project:
- Import the GVRViewerMain prefab from the SDK.
- Import the GVRReticulePointer prefab and make it a child of the camera.
- Add the GVRPointerPhysicsRaycaster Script Component to the camera.
- Add an EventSystem to an empty GameObject in my hierarchy, and add the GVRPointerInputModule Script Component to the same GameObject.
- For all the objects you want to be able to look at/click:
- Add some sort of Collider to the object, and mark it as a trigger.
- Write some public methods that will be your event handlers in a Script Component.
- Add some Event Triggers to the object. I used PointerClick. Make the Event Trigger call your event handler.
A little more involved, but also relatively flexible. My movement script uses the FadeInOut script by KentyMan at the Unity Wiki. Whenever the user clicks on a valid target for teleportation, the game fades quickly to black, repositions the camera, and then fades back in.
Very excite. Such game.
2. Basic World Design and Movable Scenery
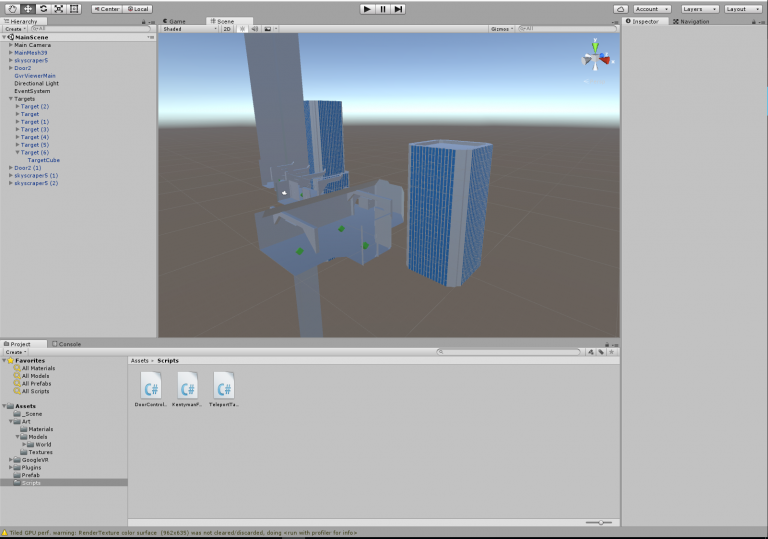
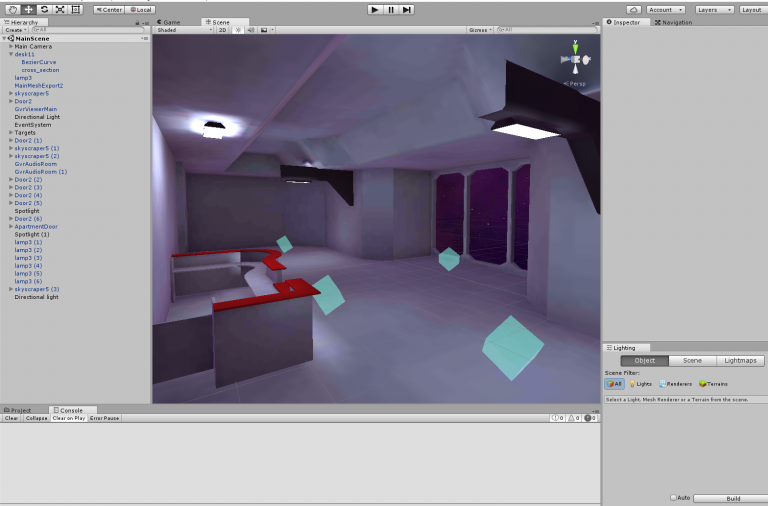
I’ve had this idea in my head for awhile: a long balcony that overlooks a vibrant cityscape. Well, okay, right now the cityscape isn’t very vibrant. Okay, fine, I don’t have a cityscape at all. But I have a balcony, and that’s progress, so whatever.
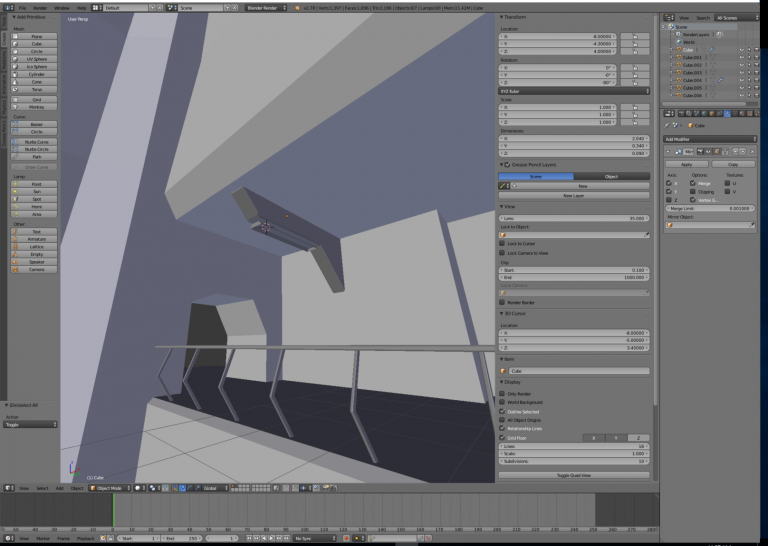
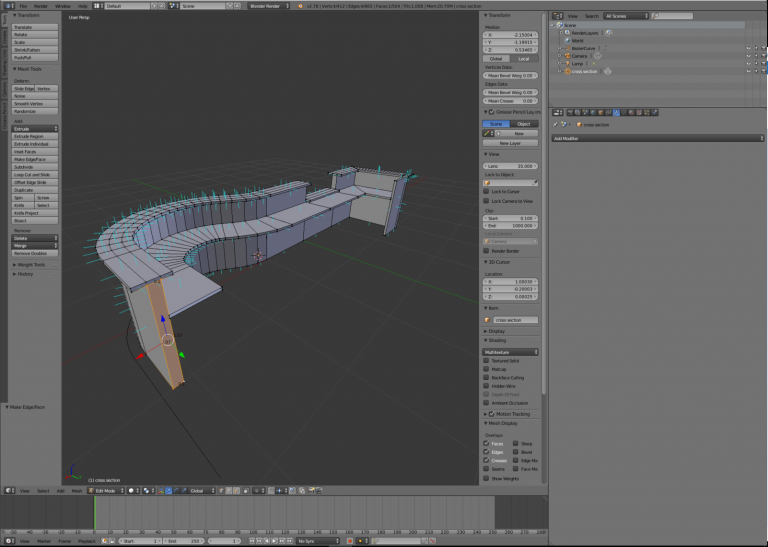
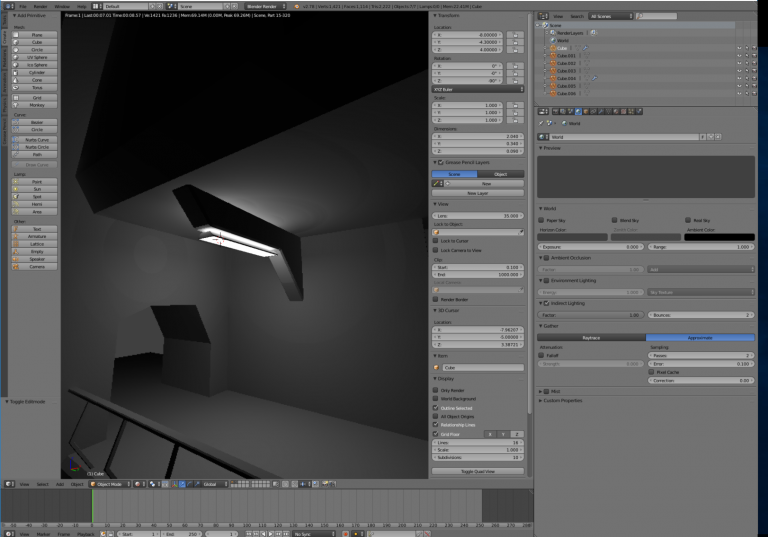
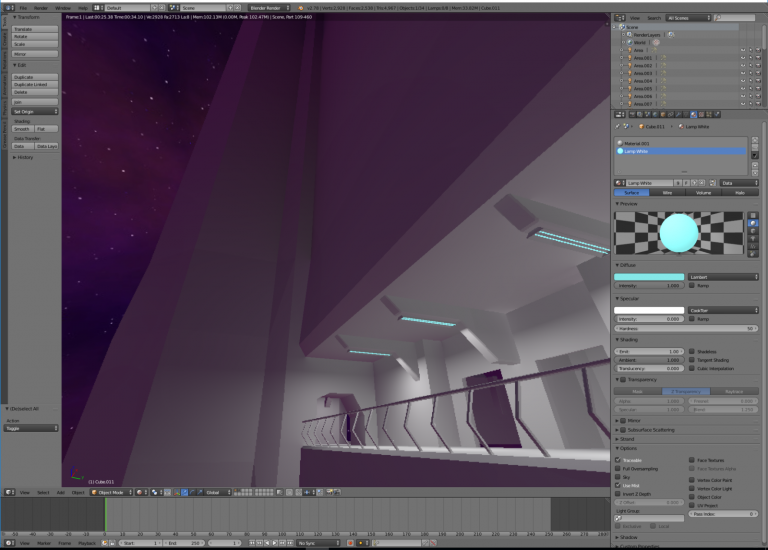
I designed the balcony in Blender and imported it into Unity. I am using no textures at the moment; right now, the emphasis is on geometry and sketching out the main areas for the gameplay. (It’s going to be really small.) If I have time, I will probably bake lighting in Blender and then either import as lightmaps or (if I can swing the low-poly aesthetic), bake the lightmaps to vertex colors and not use any textures at all. My phone will probably thank me for the latter. We’ll see!
Last, I really wanted to get something moving, so I added sliding doors. I did this by calculating the target positions of each half of the door and then Lerp-ing between the start and end as a function of progress, calculated as (end movement time – start movement time) / duration. For extra fun, the Lerp-ing is nonlinear by using a smoothing function in place of a straight time parameter, so the door speeds up and slows down nicely.
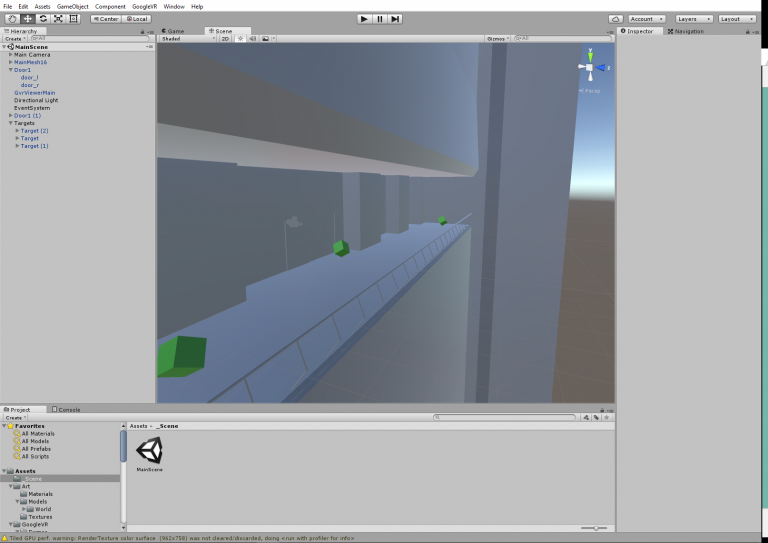
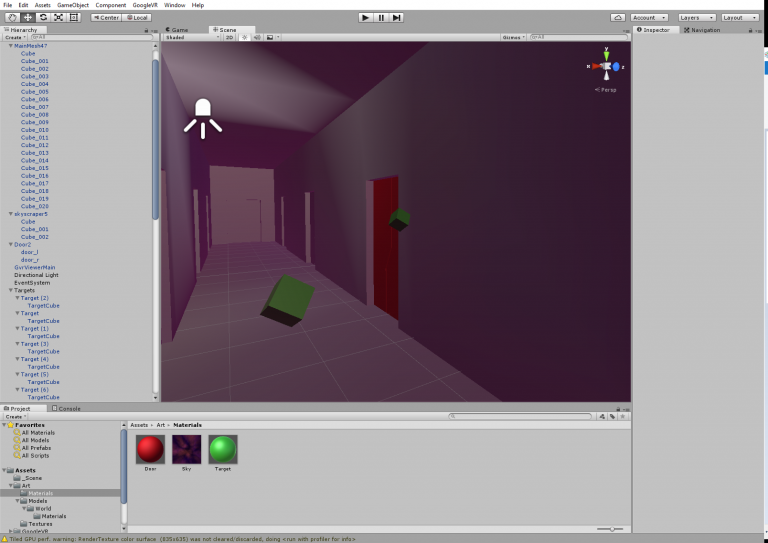
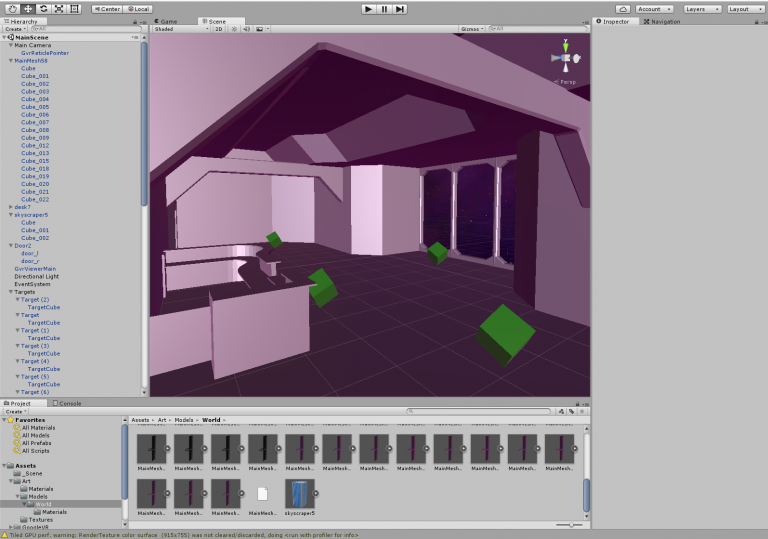
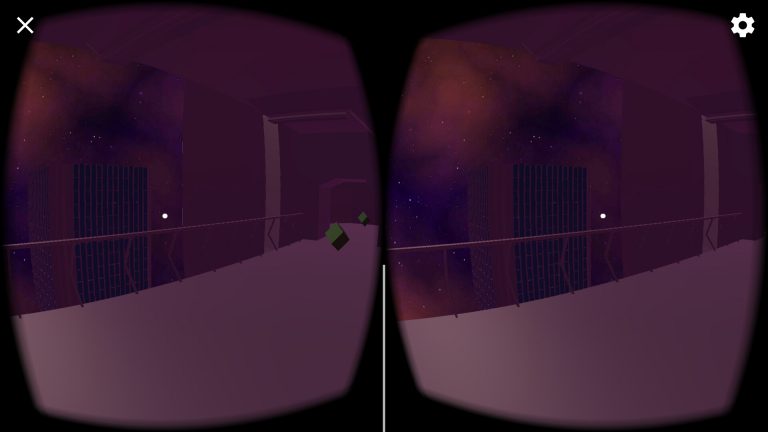
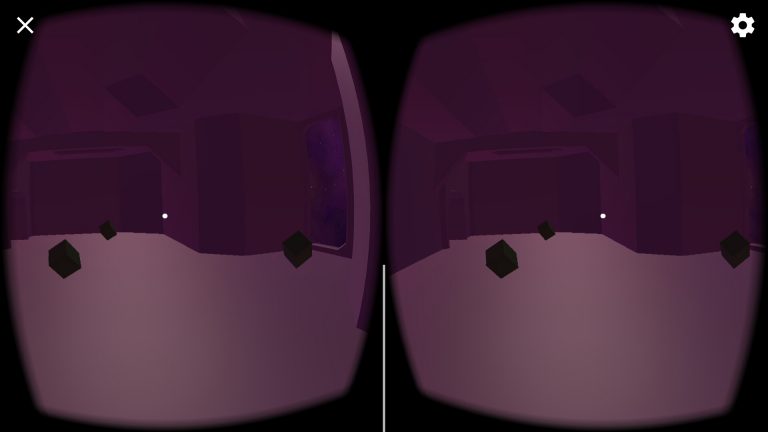
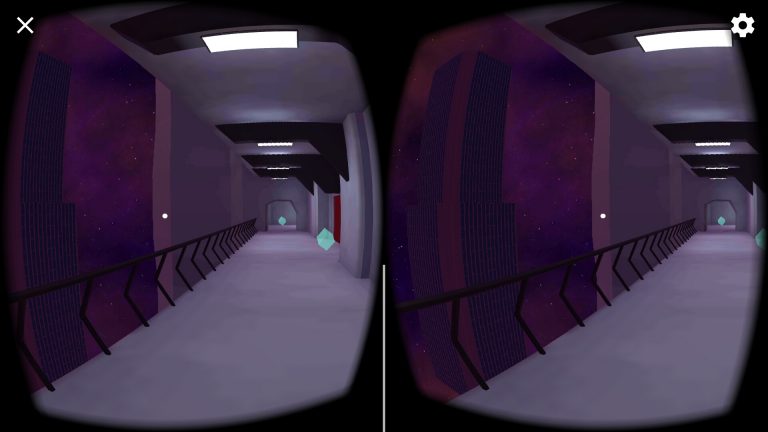
The green objects are teleportation targets.
3. Day 1 Results
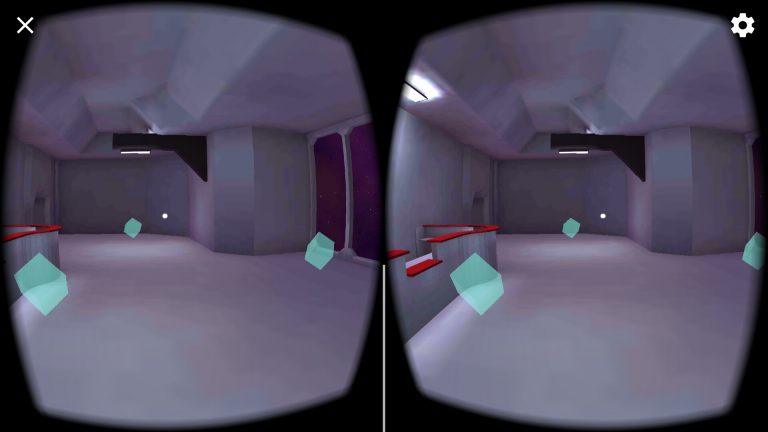
Here’s the results of my labors running on my phone:
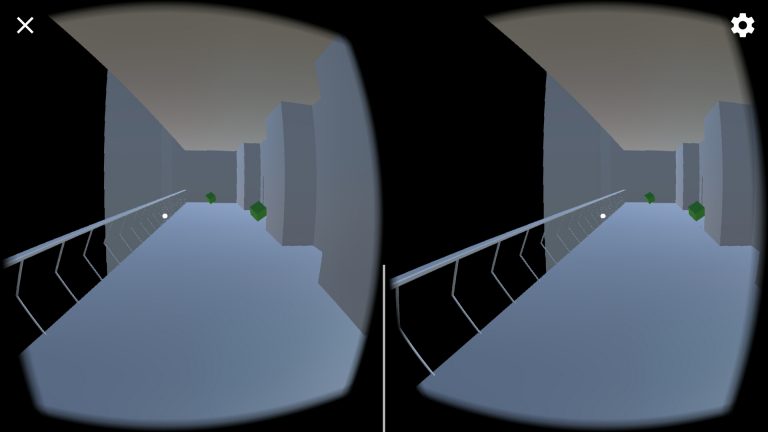
It looks much cooler with a headset.
At the end of the project, I will make some or all of the project available for others to study.


